Guide to configuring NEST Pensions: Employer
You can create pension schemes for your employees.
-
Go to Pensions.
-
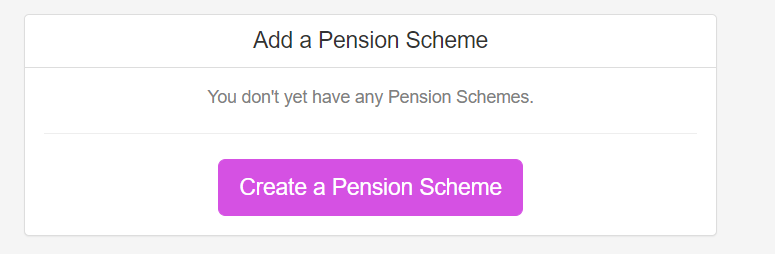
If you have not added any schemes, this page is blank.
-
Select a pension scheme to edit.
-
Select + Add New to add an additional pension.
-
-
Select Create a Pension Scheme.
-
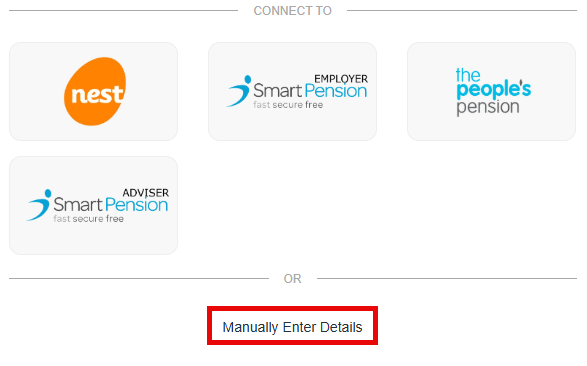
Select Manually Enter Details.
-
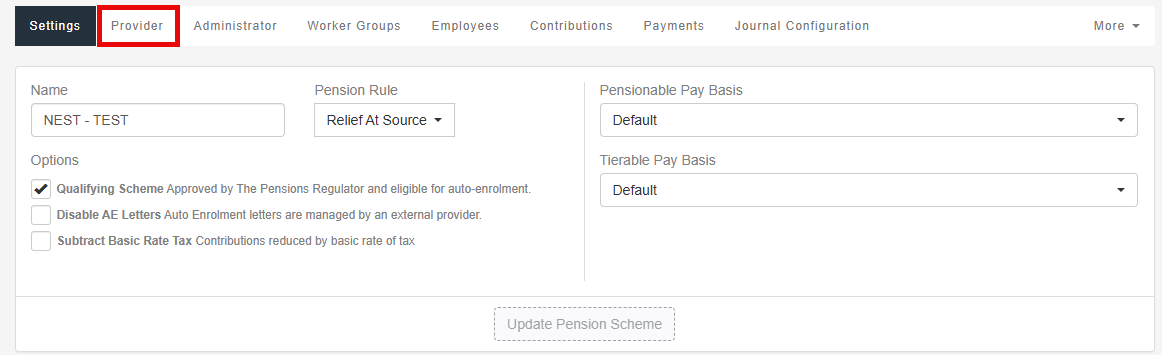
Enter the Provider Name (for example: NEST).
-
Enter the Worker Group A group of employees who have the same pension contribution level and other settings. Name.
The worker group name must match the NEST information exactly, it is case sensitive.
-
Select Create Scheme.
-
Go to Provider.
-
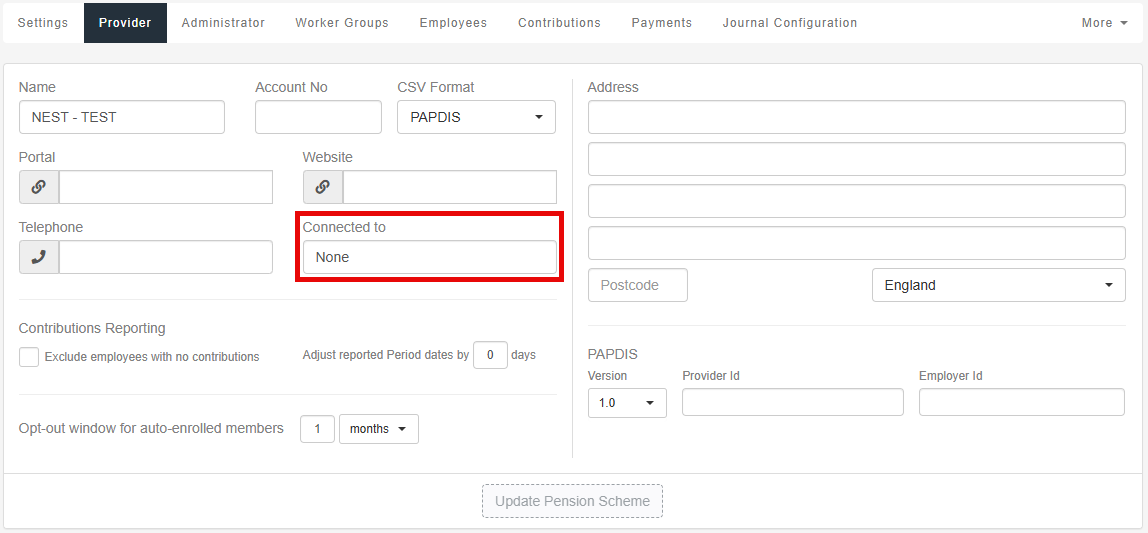
Select Connected To and choose NEST.
-
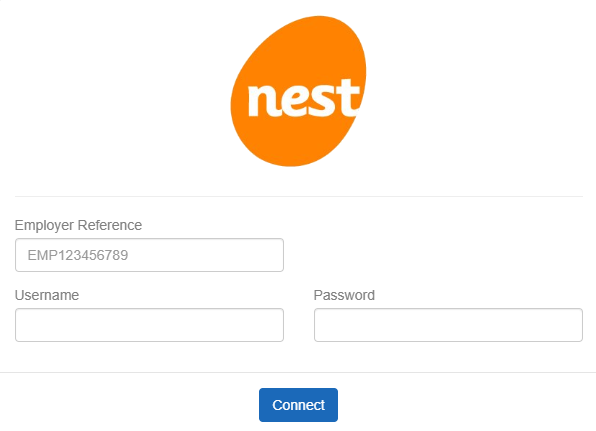
Enter the NEST Employer Reference.
-
Enter the NEST Username and Password.
-
Select Connect.
-
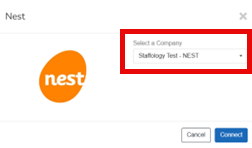
Once connected, select NEST again and choose the required company.
-
Select Connect.
-
Go to Payment Source and enter the required information.
The payment source name must match the NEST information exactly, it is case sensitive.
Additional settings - Contribution reporting.
-
Exclude employees with no contributions: Is selected as default however this can be de-selected if required.
-
Use Tax Weekly/Monthly: Sends contributions to NEST that are tax period driven. For example if your payroll runs from the start of the tax period ‘6th-5th then this option will need to be set.
-
Automatically Approve Payments: Automatically approve the payments within Nest once the contributions have been sent across.
NEST will collect the direct debit once the schedule has been approved.
-
Adjust reported Period dates by x days: Allows the user to adjust date range that is sent from your payroll product. The box will adjust the start date of the period.
your payroll product will always send the Pay Reference Period which can be found on the Pension Summary Reports and is defined for your Payment Date.